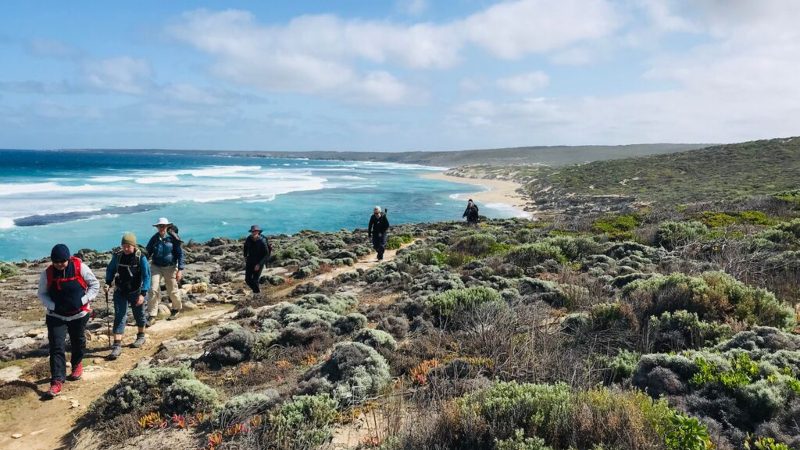
Learn how to put your best foot forward, literally.
There’s nothing like swapping concrete for wide open spaces but an escape into the wild isn’t without its challenges – around 30% of us experience problems with our feet, either during a hike or after it. While that alone might be enough to stop you in your nature-loving tracks, a few simple tips and tricks are all it takes to ensure your feet are having the same amount of fun on your hike as you are.
With that in mind, we’ve put together a guide on how to prepare your feet for a long hike to minimise risks and maximise the fun.
1. Have the appropriate footwear
If you’re about to embark on a serious multi-day hike (think the Larapinta Trail in the Northern Territory or the Cradle Mountain Track in Tasmania), then you need to make sure you have footwear that’s up the task. Sounds like a no-brainer, but maybe you don’t know what to look for?
Start off by checking the size, width, depth and flex zone of your shoes and test them by going for a couple of training walks in the weeks leading up to your hike. Make a note of any sensitive or red areas on your feet after the walks and properly break in those areas.
2. Test out your socks
Socks are almost as important as the shoe itself and trying different combinations before you set off – and finding one that works – can have a big impact on the success and enjoyment of your hike. Don’t know what we’re talking about? Try some thin socks, thick socks, toe socks, two pairs of socks and ones made out of wool and bamboo. You can thank us later.
3. Cut your toenails before your hiking trip
Everyone should do this regularly anyway but cutting your toenails before a hike is a big must-do. Nice and short is the only acceptable length if you don’t want them giving you grief every time you take a step.
4. Prepare for blisters
Blisters can be a big pain and unfortunately, they tend to pop up during a long hike, especially if you haven’t properly prepared for them or tried to prevent them in any way. The first step is to pinpoint exactly where you usually get blisters and go from there.
If you tend to get blisters easily, a podiatrist can run you through some handy prevention methods, such as blister patches and callus plasters that can be put into your shoes to prevent your skin from rubbing.
5. Address any aches and pains beforehand
If you’re feeling any muscle fatigue or if you have any joint niggles, address them and make sure they’re not going to be a problem before you start your hike – even if they’re just small because it’s likely they’ll only get bigger with every kilometre you walk.
The best way to do this is by seeing the appropriate healthcare professional and implementing any plans they gave you (stretching and strengthening exercises). It might also be a good idea to pick up some tape and learn how to properly apply it should you sprain or strain a muscle while walking.
6. Increase your agility levels
Having a well-rounded series of agility and flexibility exercises under your belt will only put you in good stead for your hiking adventure so it’s important you take the time to learn some before setting off. These exercises will help you strengthen all the muscles necessary for a physically demanding hike (including your foot, leg and core muscles) and ensure your body is properly prepared for the challenge.
These exercises may include:
– Plantar fascial release
– Calf raises
– Calf and hamstring stretches
– Intrinsic foot exercises
– Pelvic floor/core exercises
– Step-ups and squats
7. Learn how to stretch properly
The last tip (but definitely not least) is to learn how to stretch properly. Every morning before you set off to hike the 20+ kilometres required of you that day, ensure you’re properly warming up your muscles. Not only will this lead to improved hiking performance, but you’ll also reduce the chance of joint/muscle pain or serious injury. Stretching can also help improve flexibility (along with the exercises mentioned above), making walking across difficult terrain easier.
Some beneficial stretches are:
– Gastrocnemius stretch (lower calf stretch)
– Soleus stretch (lower calf and achilles stretch)
– Hamstring stretch
– Standing hip stretch
– Shoulder rolls
– Inner thigh stretch
Congratulations! You made it to the end of this blog so you’re ready to begin your hiking journey. Now all you have to do is pick the destination and pack a bag. Happy hiking!
CHECK OUT OUR RANGE OF WALKING & TREKKING SMALL GROUP ADVENTURES


